Visualise your code in style with pretty screenshots
The Power of Visuals: How Pretty Code Screenshots Can Make Your Code Shine
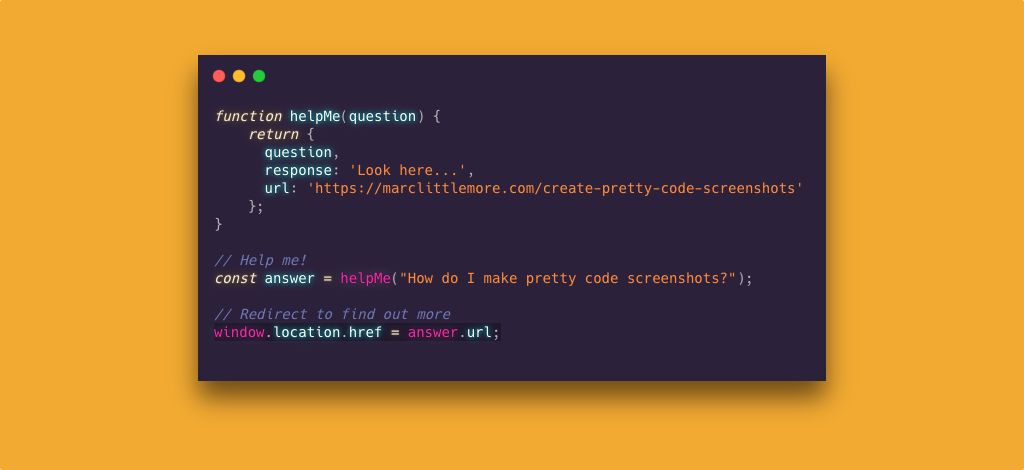
If you're a developer, and you hang out on developer Twitter, then you'll have seen people sharing their hot code tips. They're often accompanied by code examples and the "hot tip" fire 🔥 or lightbulb 💡 emojis.
Here's a great example from Simon Høiberg:
JavaScript Tip 💡
— Simon Høiberg (@SimonHoiberg) November 13, 2020
Make an argument 'required' in JavaScript using this small trick 👇 pic.twitter.com/yZ2w5Kd58b
These are not ordinary code screenshots straight from a code editor. They contain the code, syntax highlighting for the language, and are often embedded in a browser window with a colourful background.
🔥 It's a beautiful code screenshot!
If you read the comments on these code tweets, you'll usually see a list of people asking how to create such pretty code screenshots. So how do we do it?
Read on to find out how to create beautiful code screenshots to share with your Twitter or Instagram followers.
Websites
Carbon
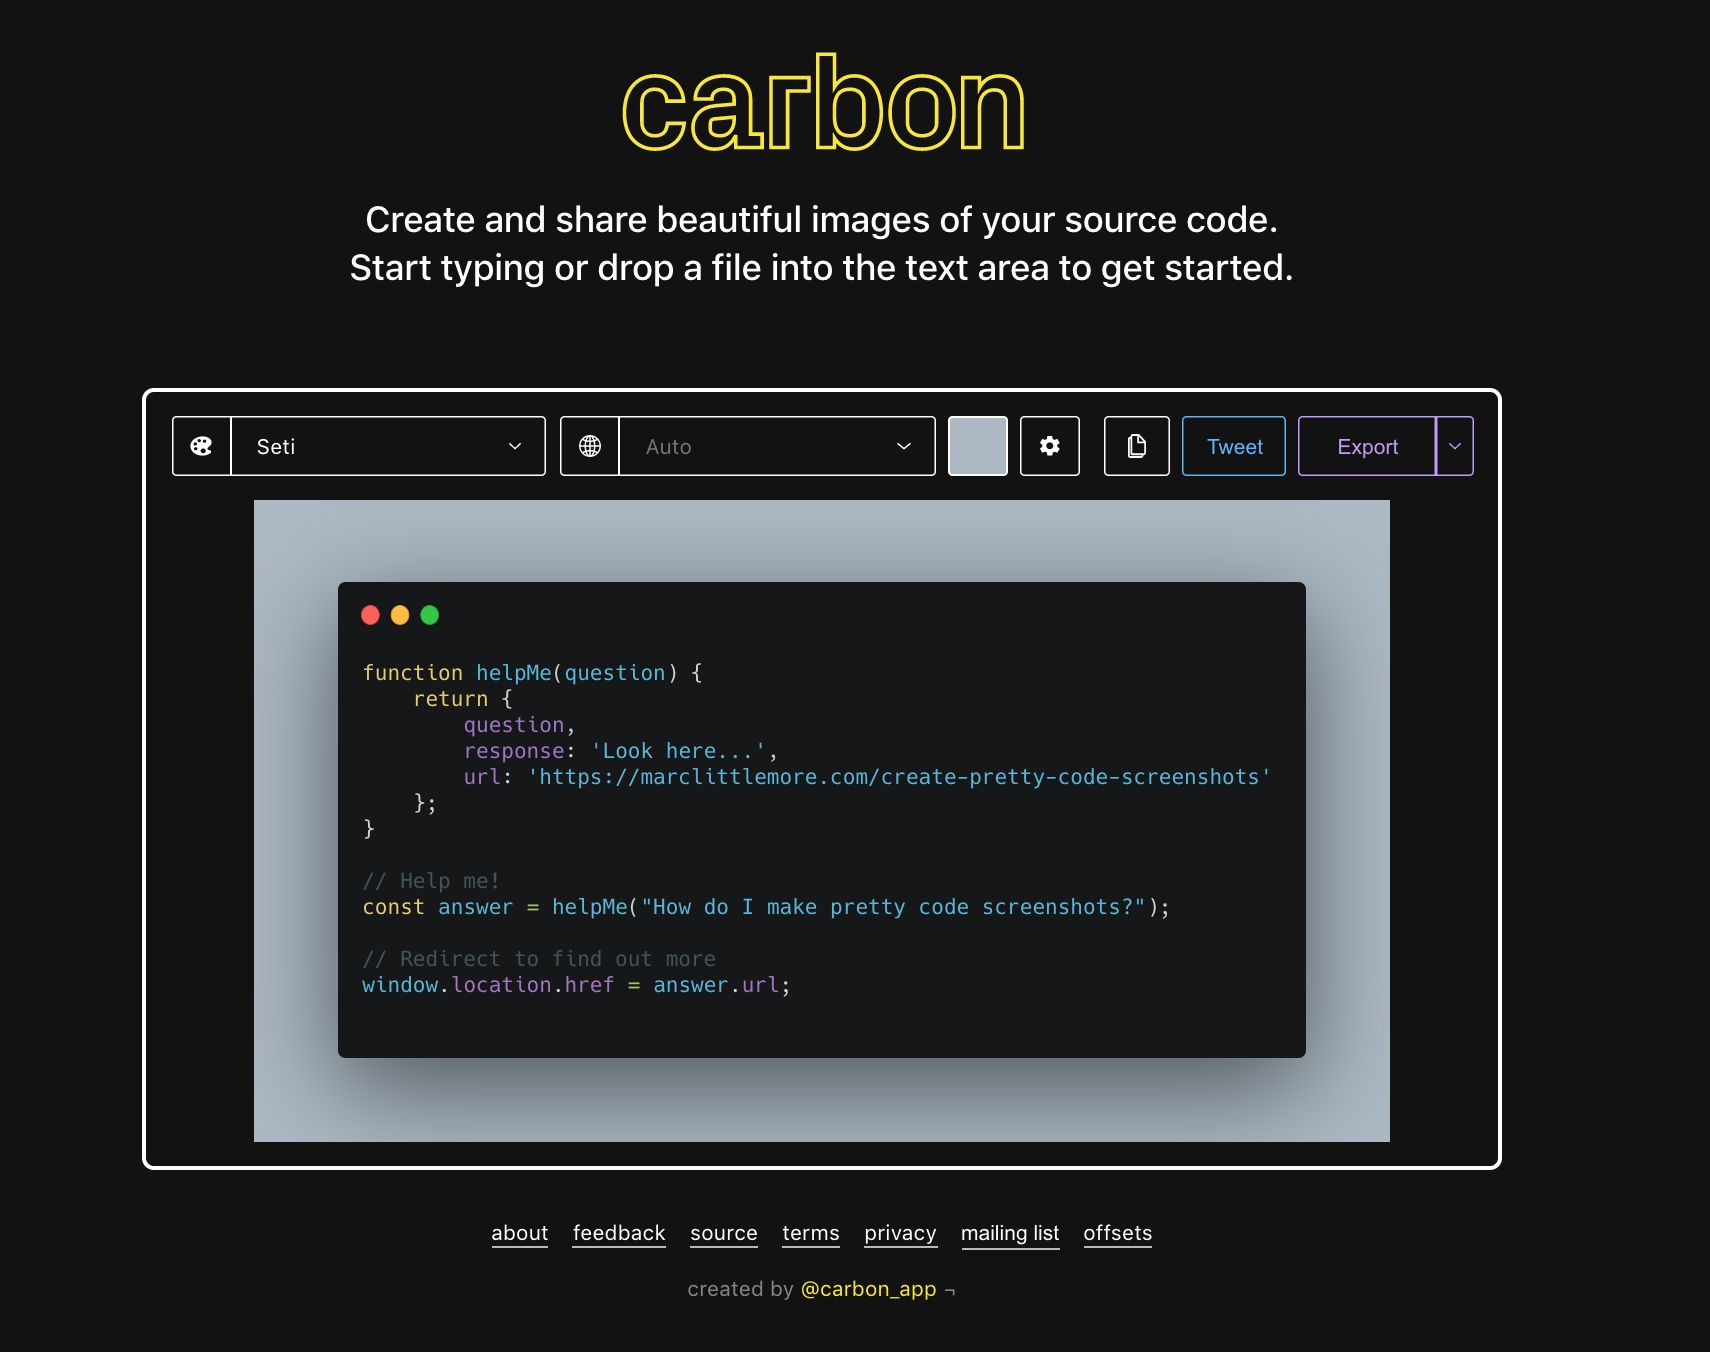
Carbon is one of the easiest tools to use. There are no applications or extensions to install. You can quickly create great looking code screenshots on their website. Their code is also open source on GitHub if you want to use it yourself.
Type your code into their online editor and you can see a prettified version of it inside a Mac-styled window. It allows you to choose a variety of code themes and can syntax highlight your code in various programming languages. You can also alter the background colour, padding, and many other window or editor options. Play around with it to see what you can create.
If you use GitHub gists then you can create an image from one of those. Append the identifier of your gist to the Carbon URL and you'll see a pretty version of your code. For example here's my gist and it we use the ID "0561c83e8445f3ffc801a5a13415abef" in the Carbon URL like this "https://carbon.now.sh/0561c83e8445f3ffc801a5a13415abef" then we see the screenshot above.
Ray.so
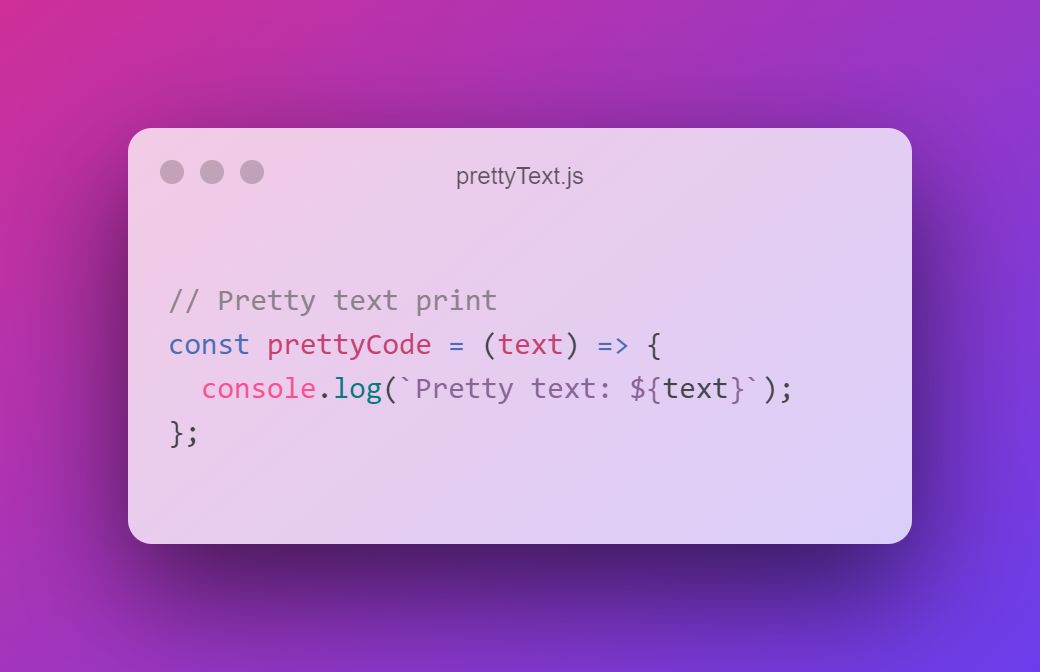
Ray.so is another easy site to create beautiful screenshots. It's created by the team behind Raycast and it's a lot more opinionated than Carbon. It only allows a minimal set of colour options but does have both light and dark modes. It supports lots of languages with its syntax highlighting support, allows you to change the title of the window, and also the padding. It offers a more curated experience than Carbon but it's similarly easy to use.
Chalk.ist
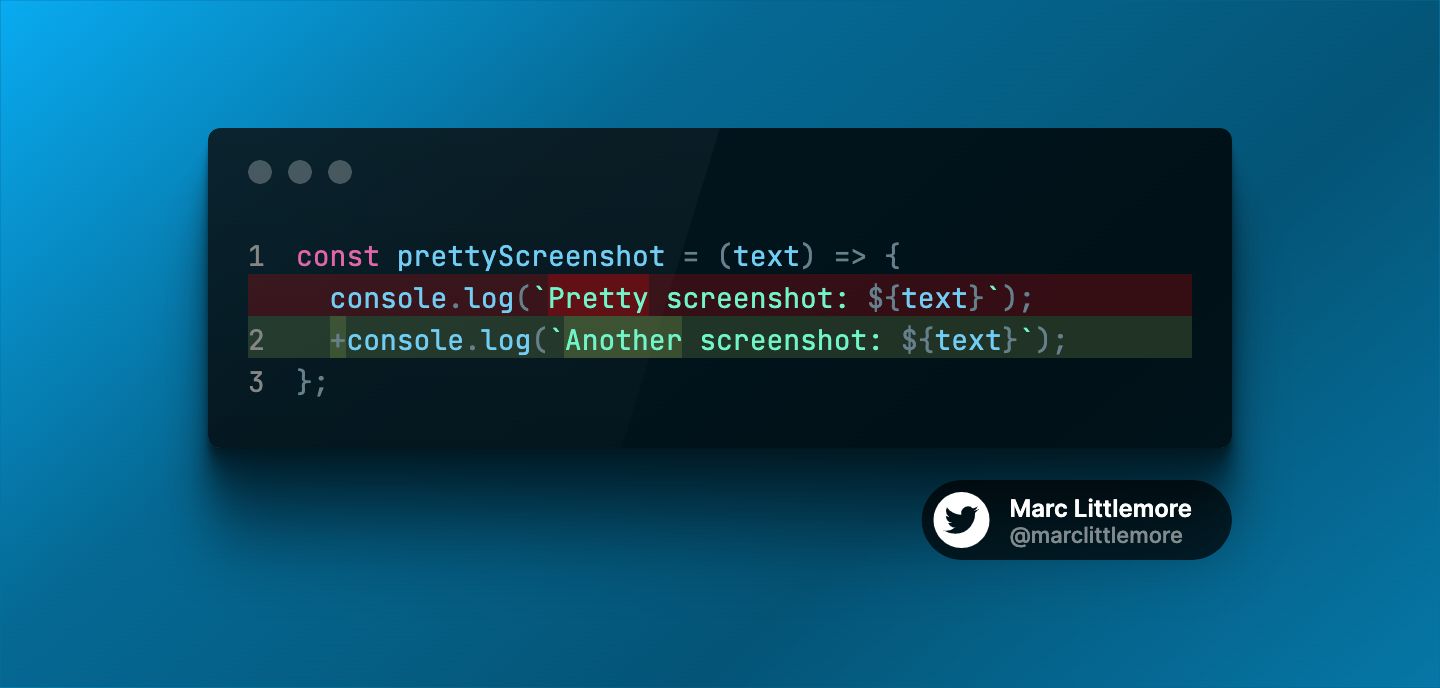
Chalk.ist is a new site which I found on Twitter in April 2022. It's created by a developer called Kasper Mikiewicz and adds some additional features to the normal code screenshot idea. It allows you to add your Twitter handle if you enable it. This will be great for social sharing.
Another useful feature is a code difference view, like you'd see in your code editor. This is useful for sharing development tutorials or for teaching. While it currently only offers 3 colour themes, it does give you line numbers and a reflection to make it look different to the other sites.
VS Code extensions
If you're a developer who uses VS Code there are a couple of extensions which will make creating pretty code screenshots incredibly easy. VS Code extensions add new features, themes, and more to the editor. If you install one of these extensions, you can avoid the need to use an external website and screenshot your code instantly.
Polacode
I've used this extension for a while and it's an easy way to create shareable screenshots of your code without leaving the editor. Install it via the extensions sidebar as you would with other extensions. You can then use the command palette to choose Polacode. This will bring up a new tab where you can cut and past code into the Polacode window.
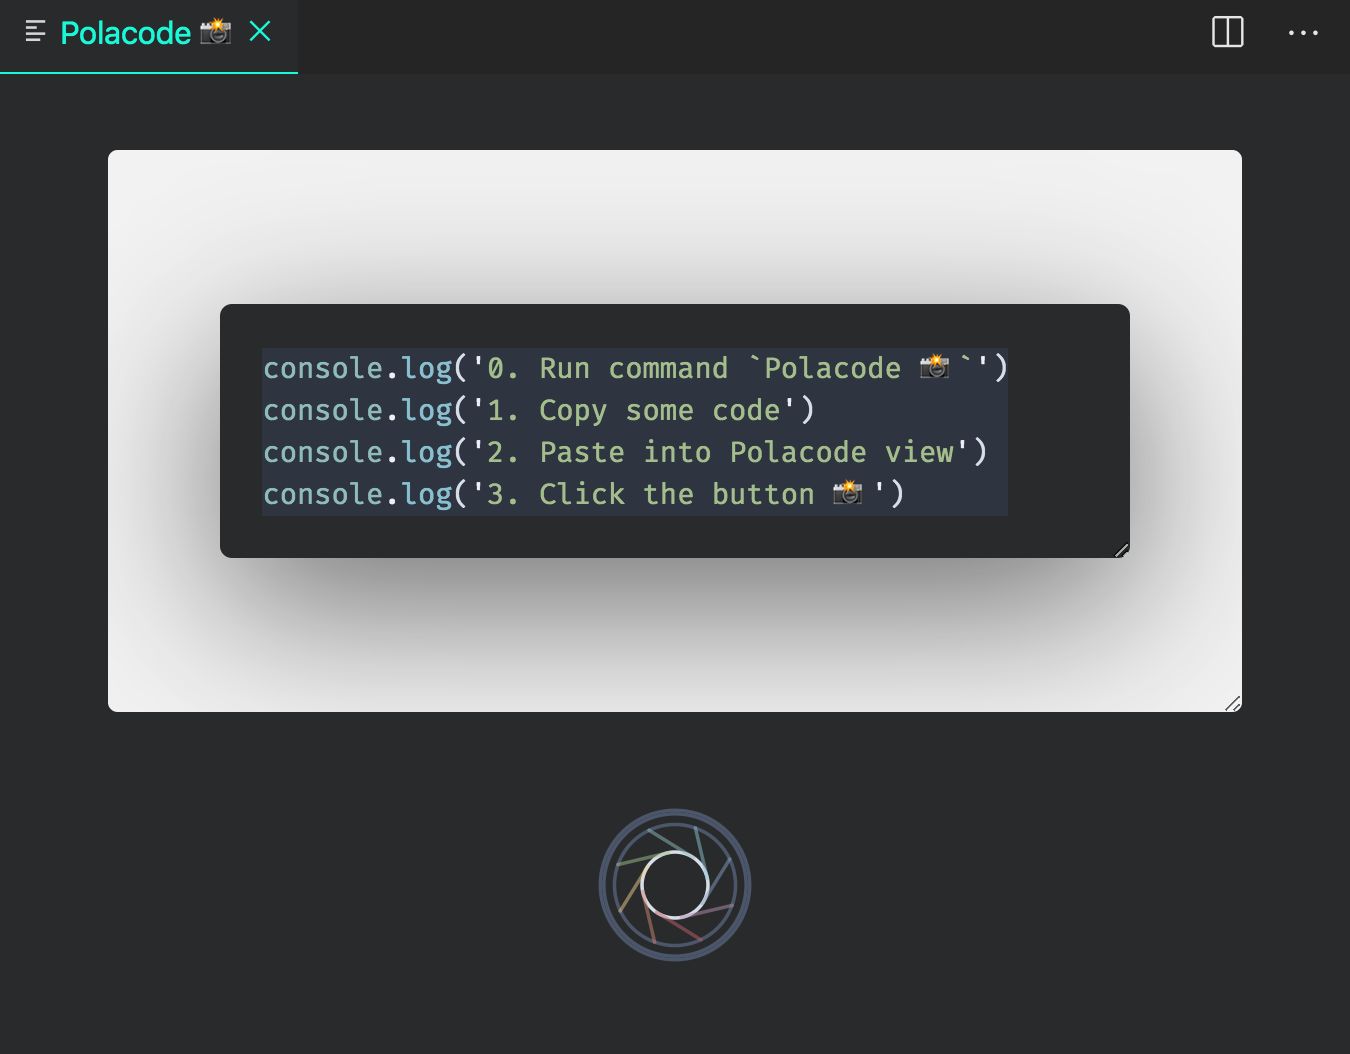
Cutting and pasting code from your open project will allow Polacode to match your current theme. Hit the button underneath the code snippet and you'll get a lovely code screenshot to share. You can update the background colour and shadow using VS Code's settings for the extension. The only issue I have with this extension is that it struggles with longer lines of code. These often wrap onto the next line which isn't as aesthetically pleasing. For this you'll have to edit the code yourself, perhaps using Prettier or similar.
CodeSnap
Similar to Polacode, CodeSnap is another VS Code extension. Again, you can easily install it via the VS Code extensions sidebar. CodeSnap is a bit more fully featured than Polacode and allows more adjustments in the settings menu. It also has quick access by right clicking in the current window to choose it from the pop-up menu.
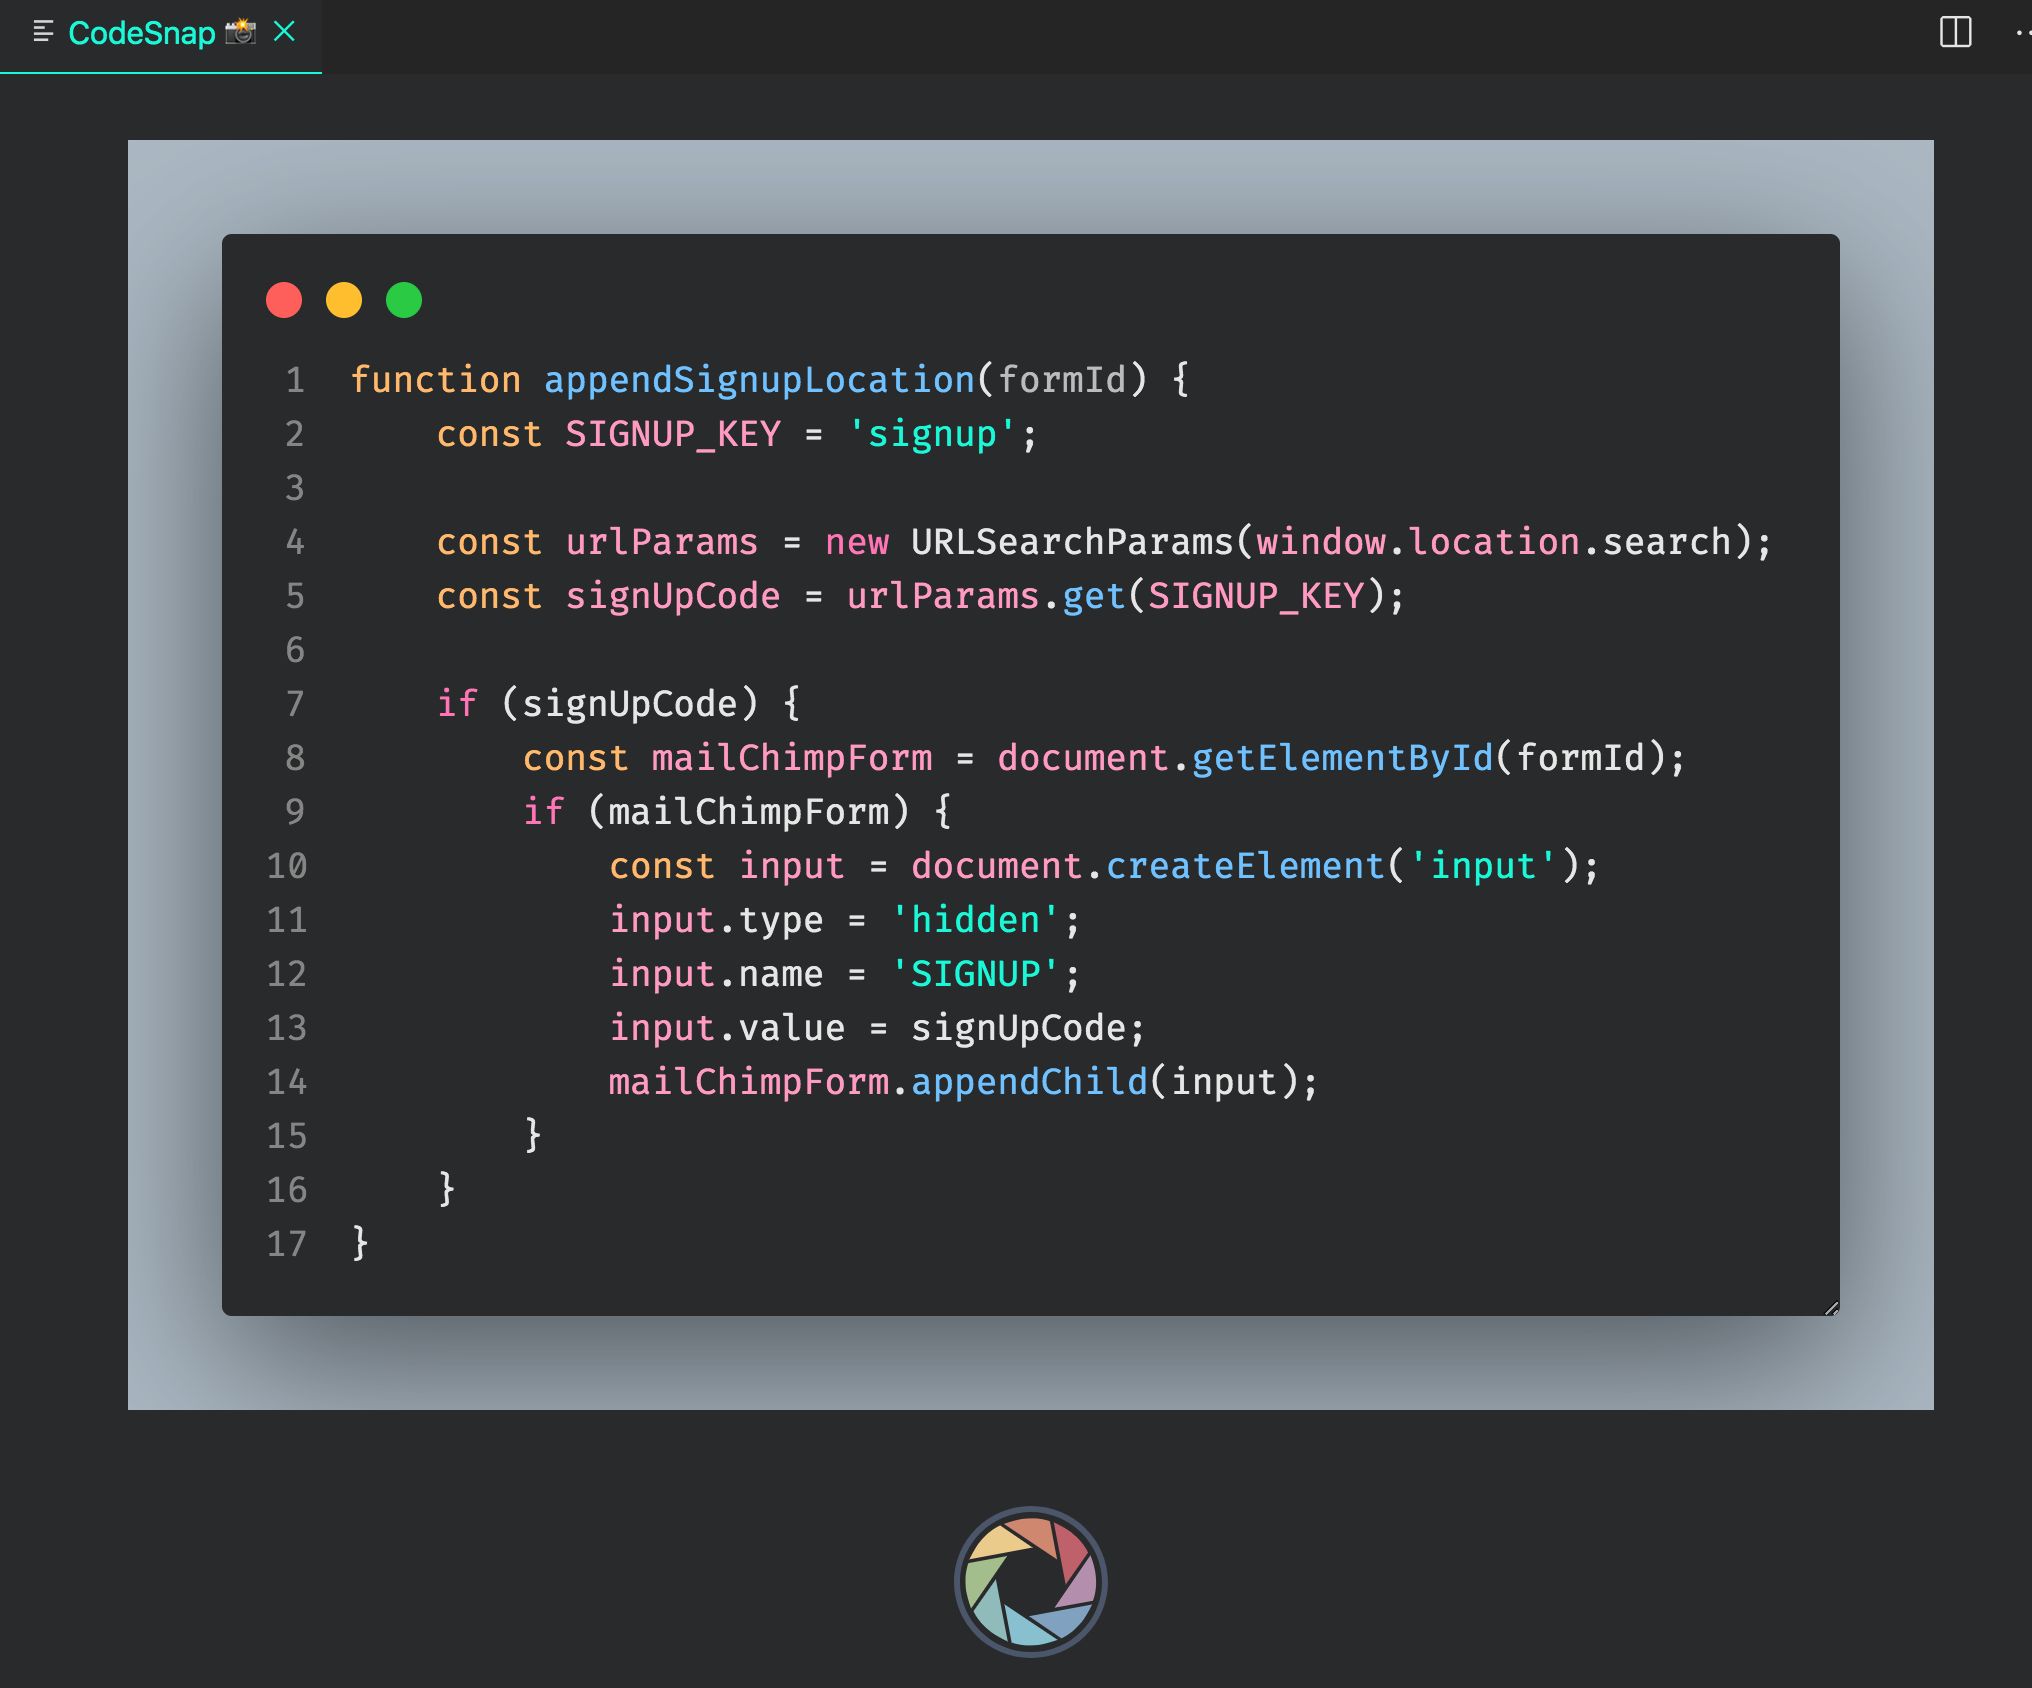
One of the advantages of CodeSnap over Polacode is that it automatically captures any text in your clipboard and creates a pretty code screenshot based on that. It's also attempts to
Non-code screenshots
In some cases you might not need to take screenshots of code. Instead you can make pretty screenshots of websites, photos, or any other image you might have. There are a few ways to do this.
Screely
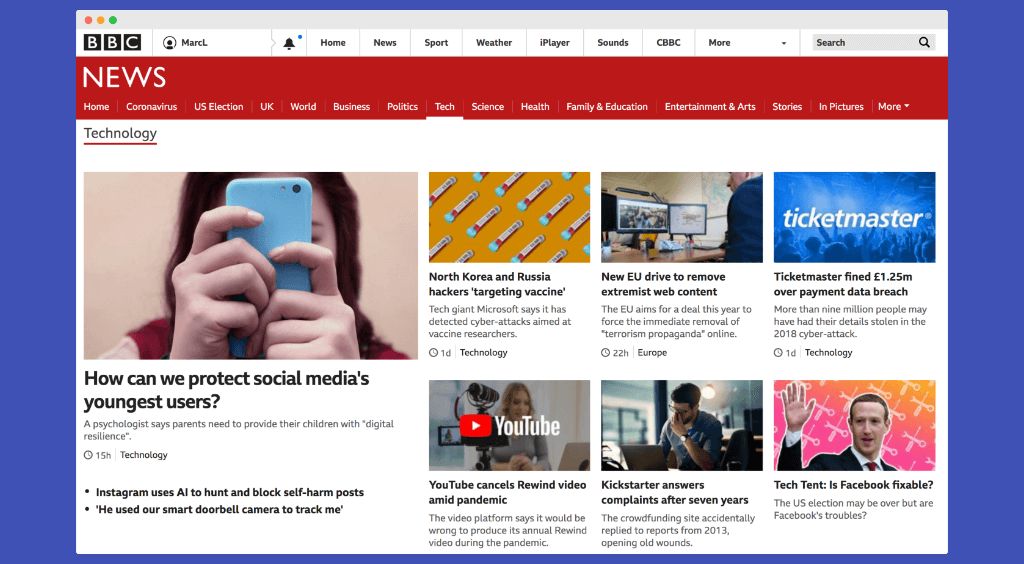
Screely is a great website which works in a similar way to Carbon. It allows you to use any image file and displays it in a browser-style window. Again, you have the ability to style the image with a variety of options for the background colour, padding, and window type and style. Have fun and make your non-code images beautiful too.
Using your operating system
While there are websites and code editor extensions you can use, maybe you just want to use your operating system. You can just take screenshots of your code using Windows or Mac OSX. You'll have your styling and code theme exactly the same as you see it on the screen. Let's look at how we can do that.
Windows users
Windows 10 makes it simple to save a copy of whatever is on your screen by using the "Print Screen" key on your keyboard. This if normally labelled as PrtScn on a Windows keyboard and is often located on the top row near the function keys. On laptops, you often have to hold down the function key first before pressing PrtScn.
-
If you press
PrtScnon its own then it will copy the entire screen to the clipboard. You can then paste the image into Microsoft Paint or similar picture editing software. -
If you use press the
Alt keyandPrtScnthen this copies the active window into the clipboard. Again, you'll need to paste this into your picture editing software to save it. -
If you press the
Windowskey andPrtScnthen it'll save the entire screen as an image file. This will be saved in the "Pictures" folder in a sub-folder called "Screenshots". -
If you press the
Windowskey withShiftandS, you can screenshot a portion of the screen. The screen will be covered with an overlay and mouse cursor turns into a plus (+) symbol, which indicates that capture mode is on. At the top of the screen you'll see a menu bar with the options: rectangular snip, freeform snip, or fullscreen snip. If you choose rectangular or freeform, you can select a region on the screen. This copies that area to the clipboard.
Mac users
Mac users also have easy ways to create good looking screenshots using the OSX operating system.
-
Use
Shift + Command + 4to turn the cursor into a crosshair. This then allows you to drag and select part of the screen to capture as an image. If you release the mouse, this gets saved to your desktop (unless you've changed the folder you save images to.) -
If you press and hold the space bar before releasing the mouse button, you can move the selected area around the screen before taking the screenshot. This is useful for changing your selection and making it pixel perfect. Release the mouse button to save the image to your selected screenshot folder.
-
If you press
Shift + Command + 4(⇧ + ⌘ + 4) and then press the space bar, this turns the cursor into a camera icon. If you move over any open window and press the left mouse button, this will save an image of the whole window, including the window bar, to your chosen screenshot folder. This is a great way to make screenshots that look great.
Accessibility
Don't forget that posting screenshots of code aren't accessible. Make sure that you add a link to a GitHub gist or to your code repository so that people with any visual impairments can read your code in other ways.
Got any other ways to style your images that I've not mentioned? Send me a message and let me know.
👉🏻 Like this post? You should follow me on Twitter
Replies
Want to read more?

Become a producer not a consumer
Don't just spend your time doom scrolling on Twitter or liking Instagram pictures. It's time to become a content producer and not just a content consumer.

Always be learning
Learning doesn't have to stop after school. Learning should be a lifelong passion that we all embrace.

Creating an idea habit
I sometimes struggle for ideas, especially as I try and a daily blog post for 30 days. Here are a few ideas on how to kickstart a habit of idea generation.

Building an audience
Building an audience is a great way to expand your online network. It can help you to find a new role or perhaps sell digital products online. Here are some tips from [Nate Eliason](https://twitter.com/nateliason) which show how you can do it.


